Happy Thursday folks!
LOOOOOKIE!!!!I made myself a Glitter Frame!

I’ve been meaning to frame this awesome embroidery design from Urban Threads I tested a while back, so when I found Mod Podge at the Dollar Tree last weekend, I knew I’d be making a glitter frame especially for it. (Last year Urban Threads featured this sweet design as a freebie, I’m glad I scooped it up then! You can find it HERE) I love this verse, its the perfect touch of inspiration for my little work space.

This DIY is super easy to do! Here’s what you’ll need:

- Old Newspaper
- GLITTER
- Modpodge
- Frame (you can use any type wooden, plastic etc.)
- Painter’s tape
- Sponge or Brush (your preference)
STEP 1: Lay down your newspaper and prep your frame by removing the glass and the backing of the frame. Set those aside. You will only be working with the outer frame structure.

STEP 2: Turn your frame upside down and use the Painters Tape to cover the back perimeter of the frame. This will keep the glue and glitter from spreading into the back, giving it a nice neat finish (even though you won’t be seeing the back once the frame is displayed, it still just looks neater).

You can tear off the excess edges if you wish…your use an exacto knife if you are OCD like I am….lol

STEP 3: Once the tape is nice and secure, turn your frame right side up, and with your sponge or brush apply a nice generous coat of Mod Podge over the entire front of the frame.

STEP 4: COVER WITH A GENEROUS COAT OF GLITTER! (This is the best part). Leave to dry for about an hour (to be safe).

STEP 5: Shake off excess glitter. OPTIONAL: You can repeat STEPS 3 & 4 here if you find you’ve missed a few spots or if you want a more lush cover of glitter. Be sure to check that the sides of the frame are evenly covered.
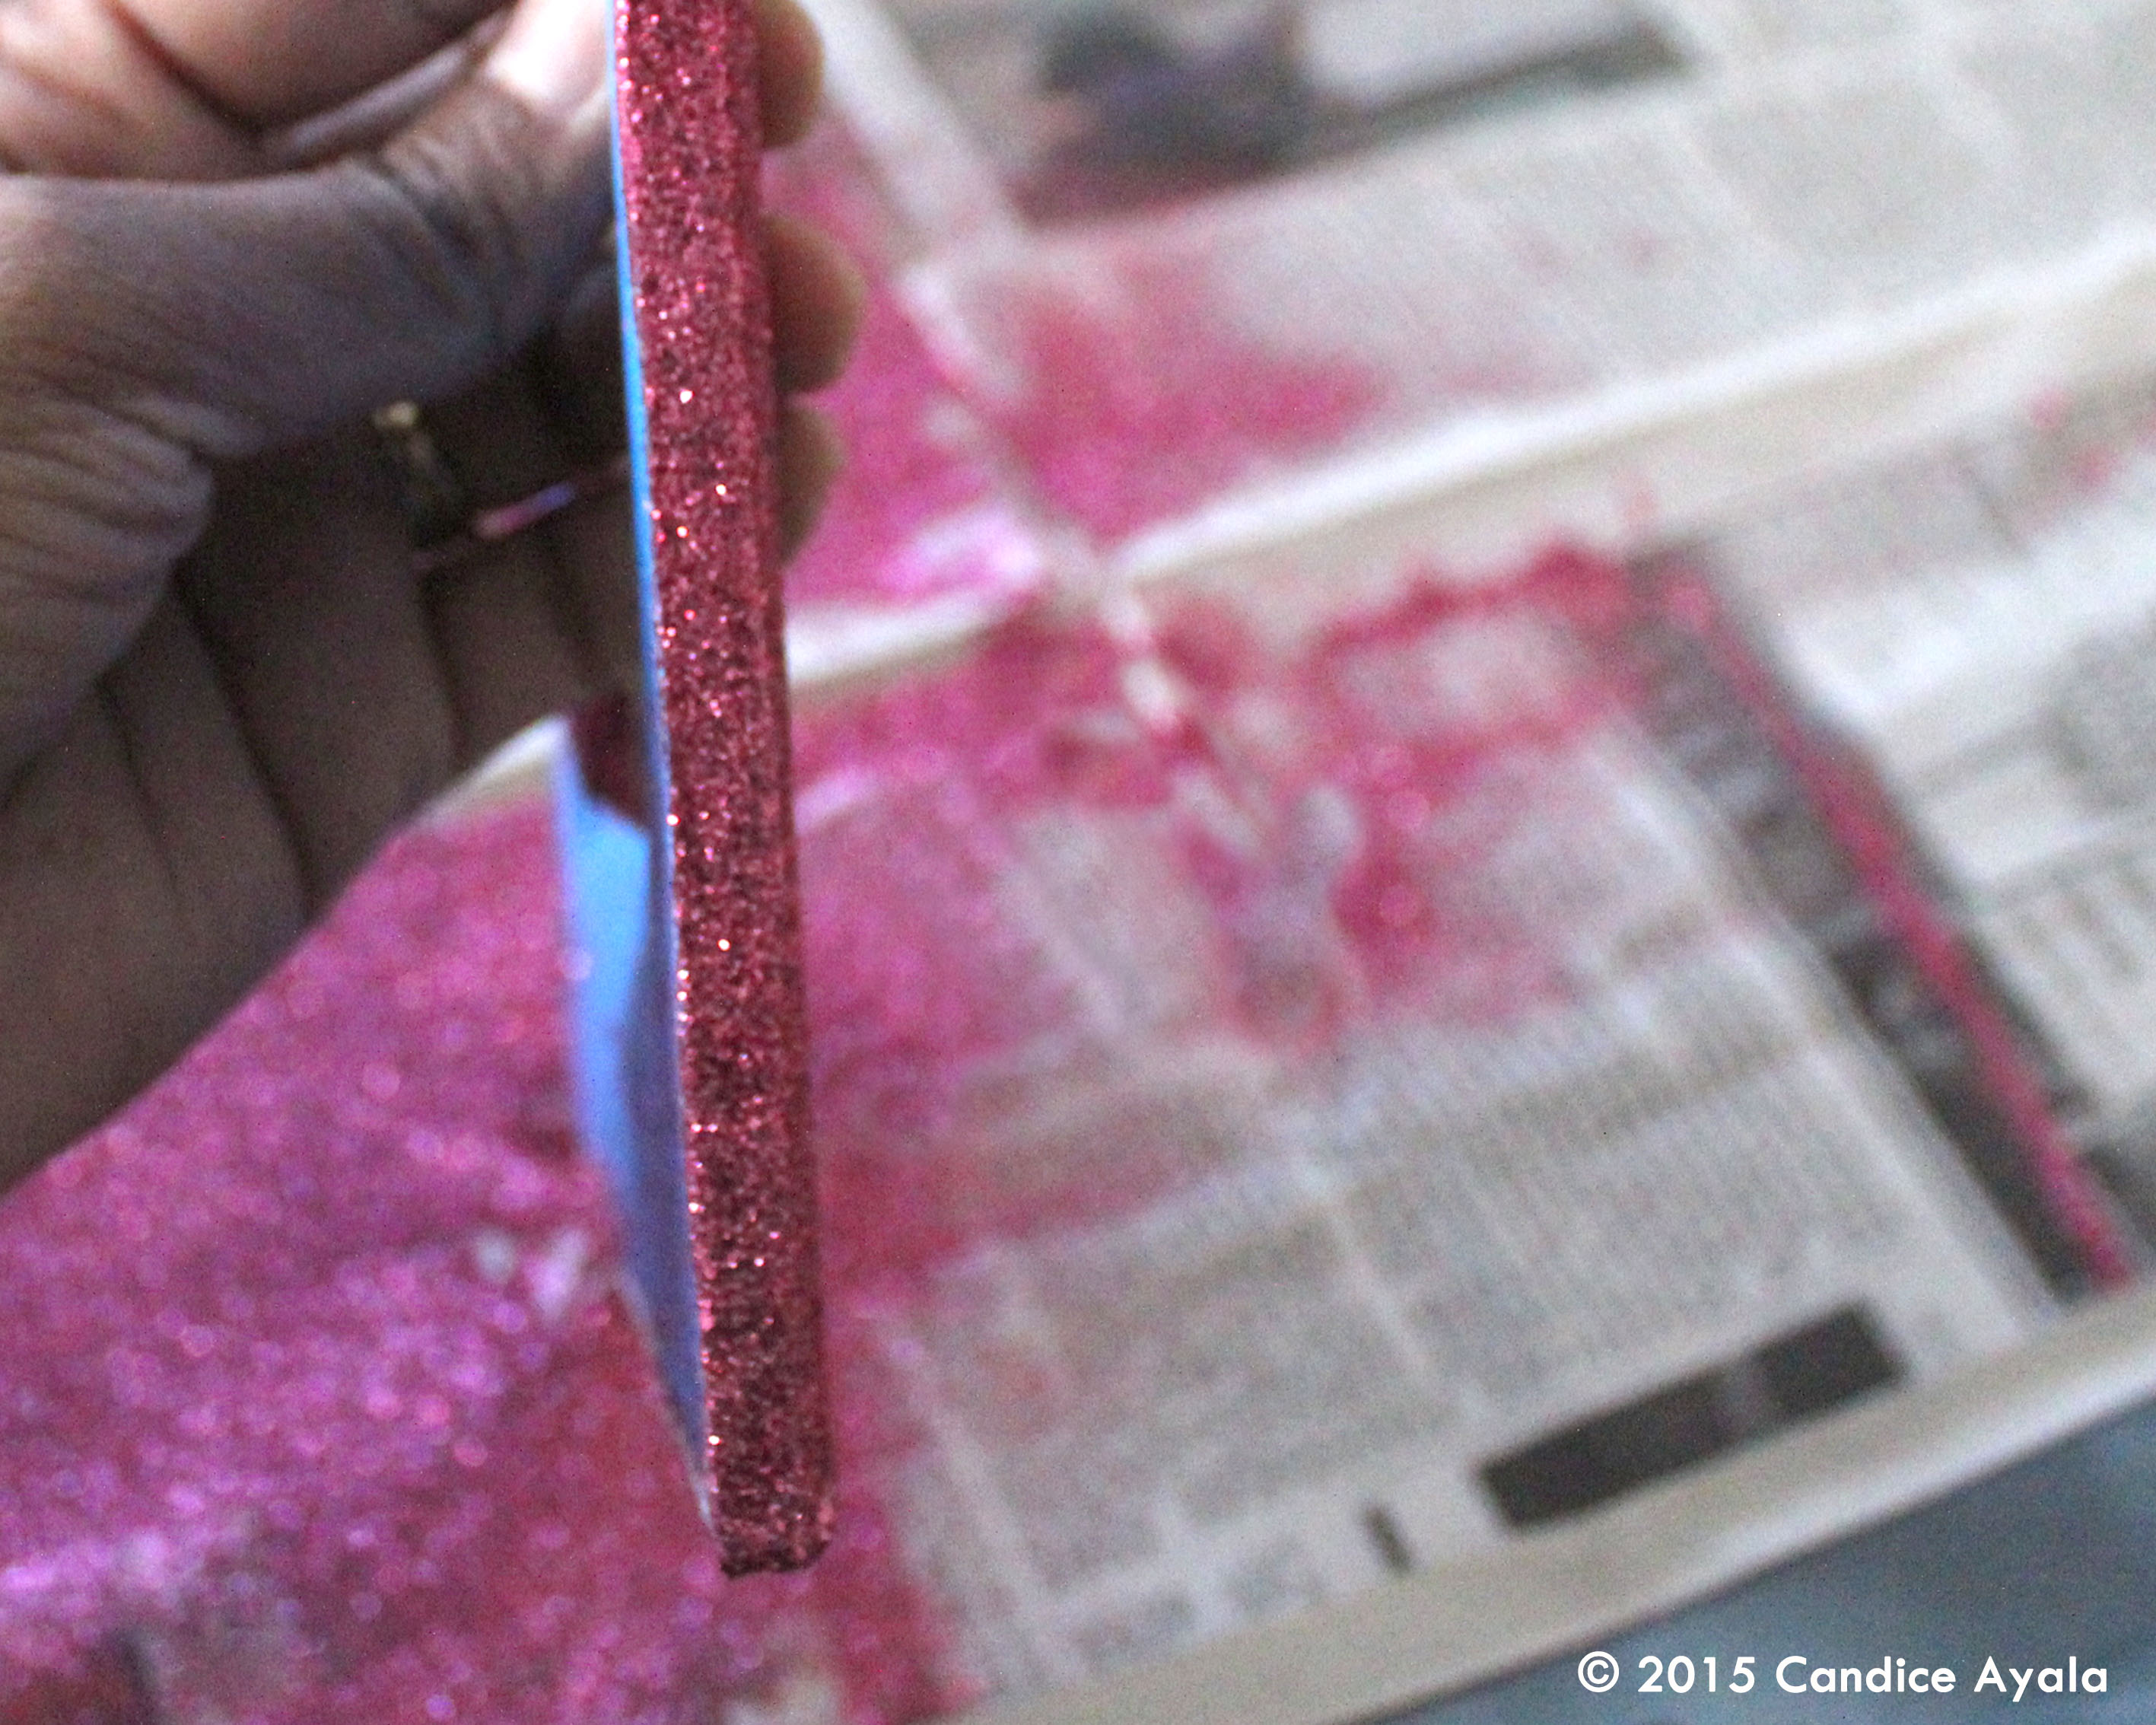
STEP 6: Once you are satisfied with your glitter cover, apply another coat of Mod Podge to seal the glitter. This means that the glitter will be sealed UNDER the Mod Podge so it won’t rub off onto anything. SET THIS ASIDE TO DRY.

STEP 7: Once your frame is completely dry, turn over and remove Painter’s Tape.

STEP 8: Insert a picture and hang or display! WALLAH! YOU’RE DONE!

That’s it for this week’s DIY project! Do something nice for your self and make something SPARKLY!!! YOU KNOW YOU WANT TO!!! And tag me if you do! I’d love to see it! Talk to you soon!!!

Absolutely stunning and marvelous job done. I really love your embroidery work.
Thank you Suzanna, the embroidery machine is great.